|
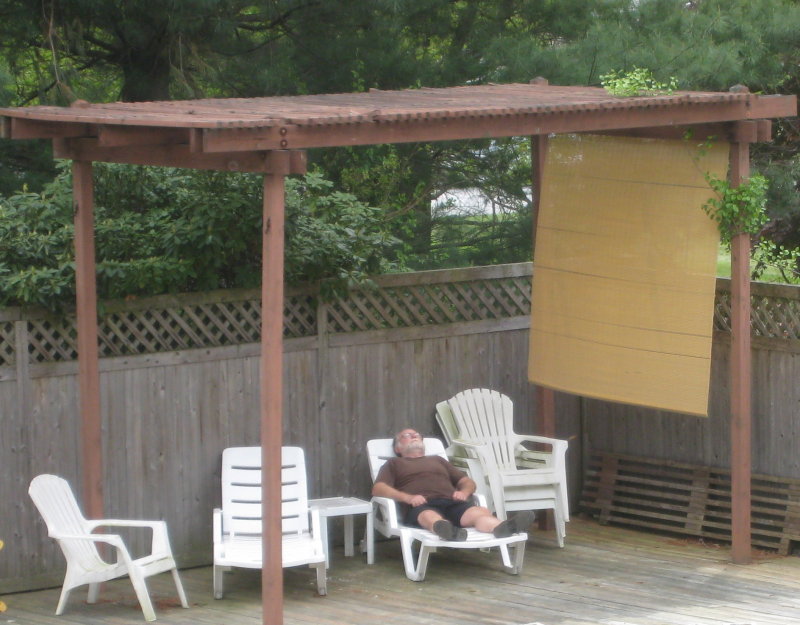 At some point we all took naps in various
places. At some point we all took naps in various
places.
| |
|
|
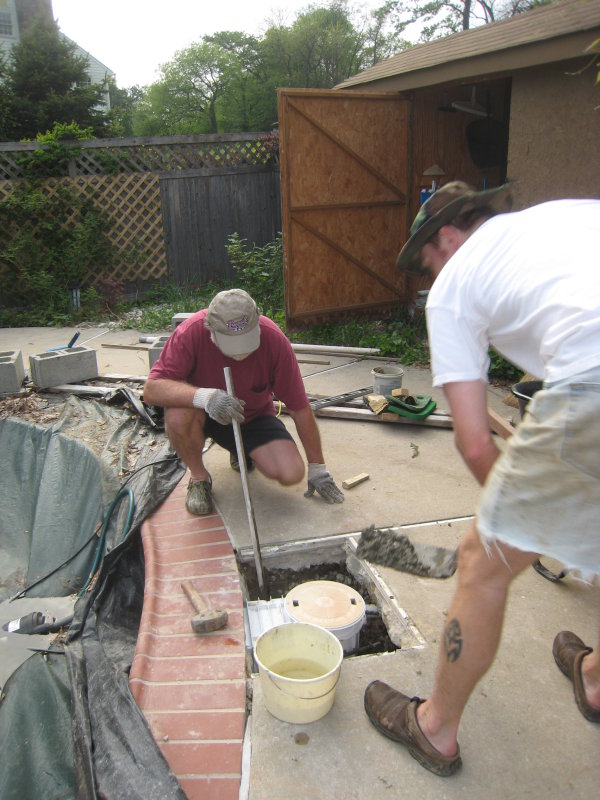 Then it was back to work - with
concrete. Then it was back to work - with
concrete.
| |
|
|
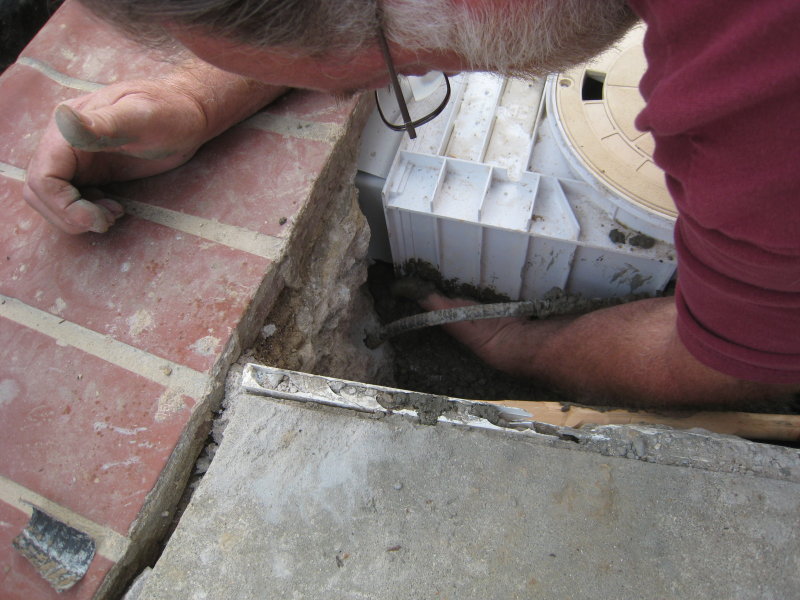 Had to make sure it was filling all the gaps and
creating a nice seal between the skimmer flange and the pool
side. Had to make sure it was filling all the gaps and
creating a nice seal between the skimmer flange and the pool
side.
| |
|
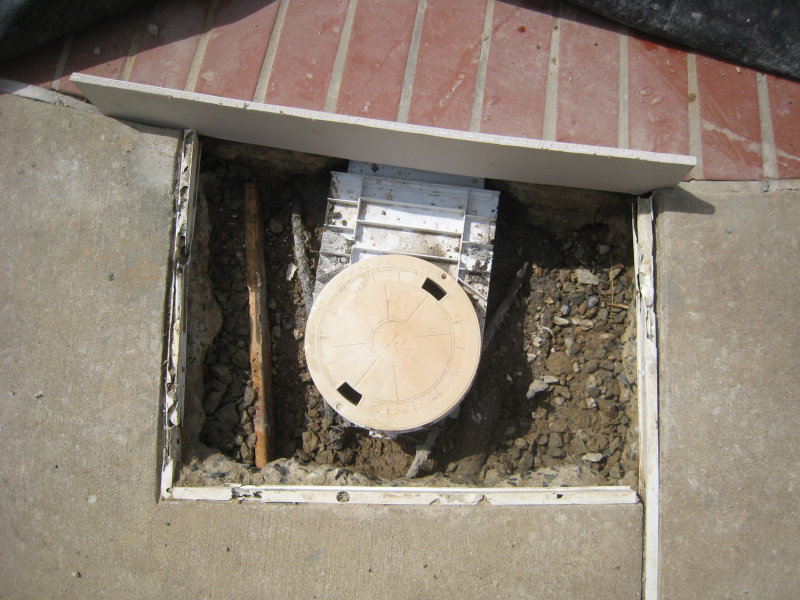 We filled it to a point, then let it set over night.
The board divides the gravel under the decking from the
concrete around the skimmer. We filled it to a point, then let it set over night.
The board divides the gravel under the decking from the
concrete around the skimmer. | |
|
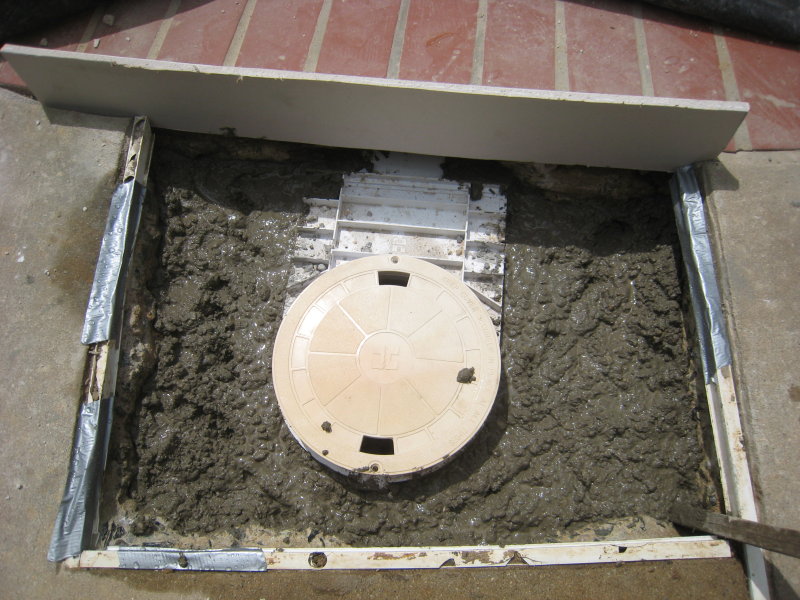 The following day we continued with the concrete. The following day we continued with the concrete.
| |
|
|
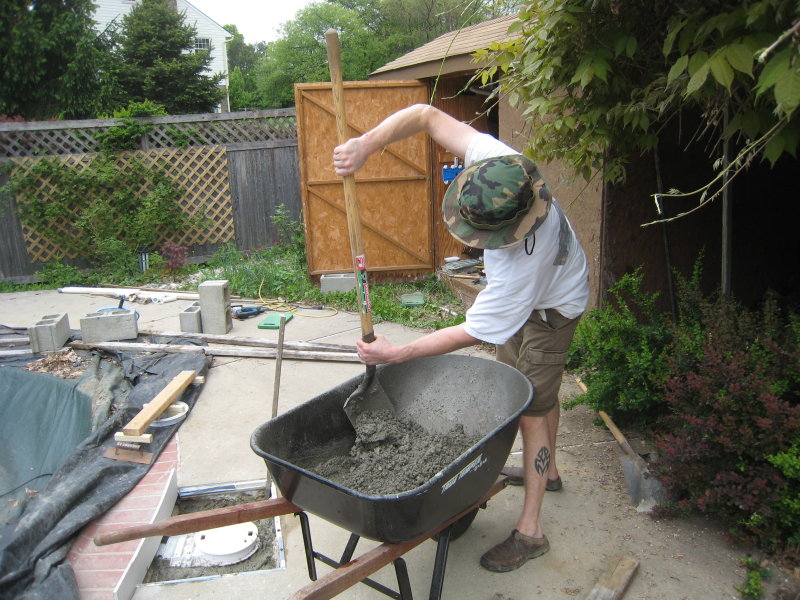 Hand mixing concrete kind of
sucks. Hand mixing concrete kind of
sucks.
| |
|
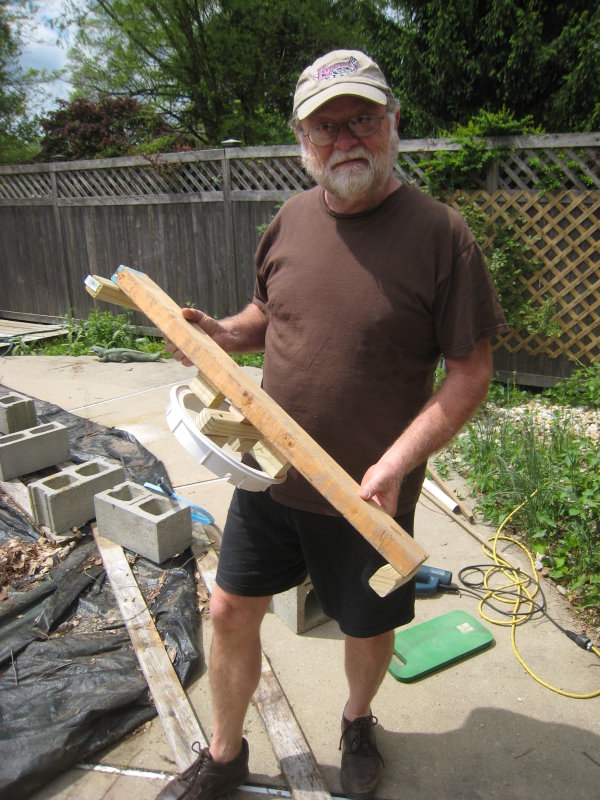 My Dad made a jig to hold the extension ring for the
top of the skimmer. The ring allows you to adjust
the position of the lid between the top of the deck and the
skimmer itself. You can see the ring attached to his jig. My Dad made a jig to hold the extension ring for the
top of the skimmer. The ring allows you to adjust
the position of the lid between the top of the deck and the
skimmer itself. You can see the ring attached to his jig.
| |
|
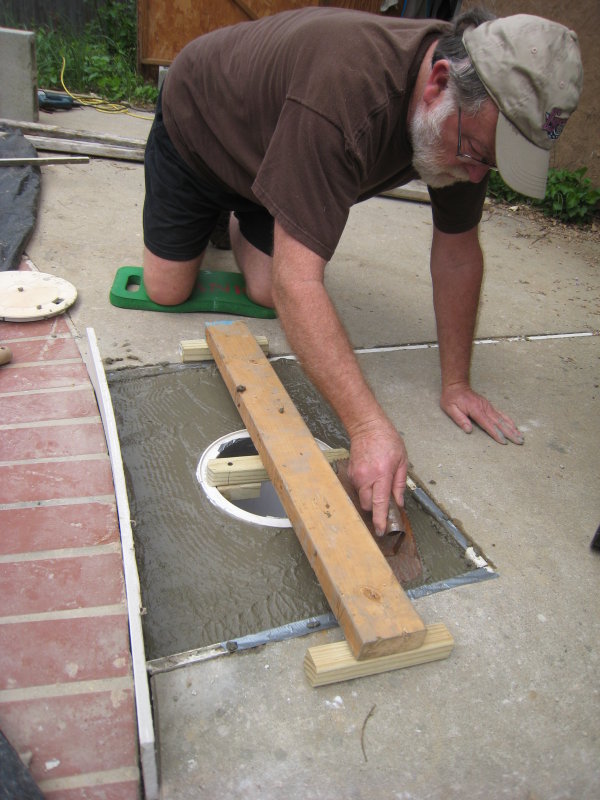 The jig in action. The jig in action. | |
|
|
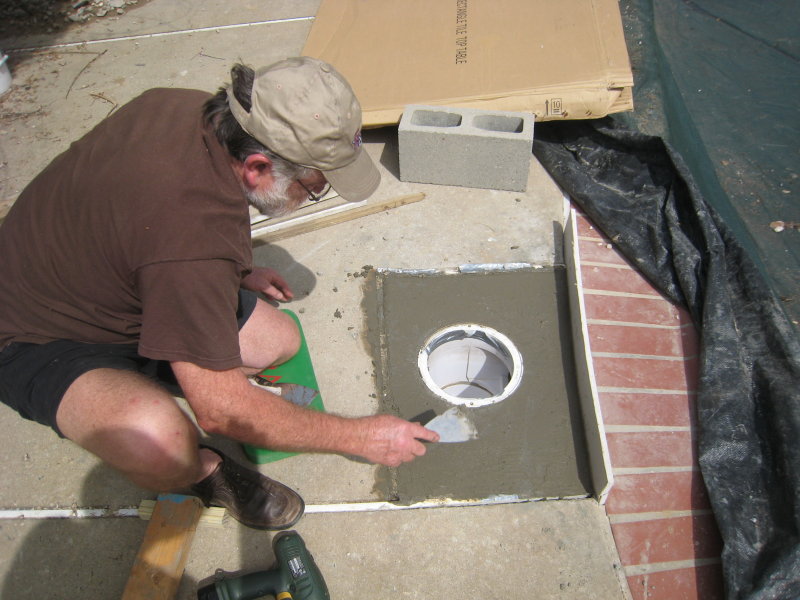 I didn't have the exact tool that we needed to
finish the concrete correctly, but we got it close. I didn't have the exact tool that we needed to
finish the concrete correctly, but we got it close.
Still to do is the plumbing between the new skimmer pipe we
put in and the pipe that goes to the pump. I also need to
finish the skimmer port with some silicone and caulk the
expansion joints. |
|
|
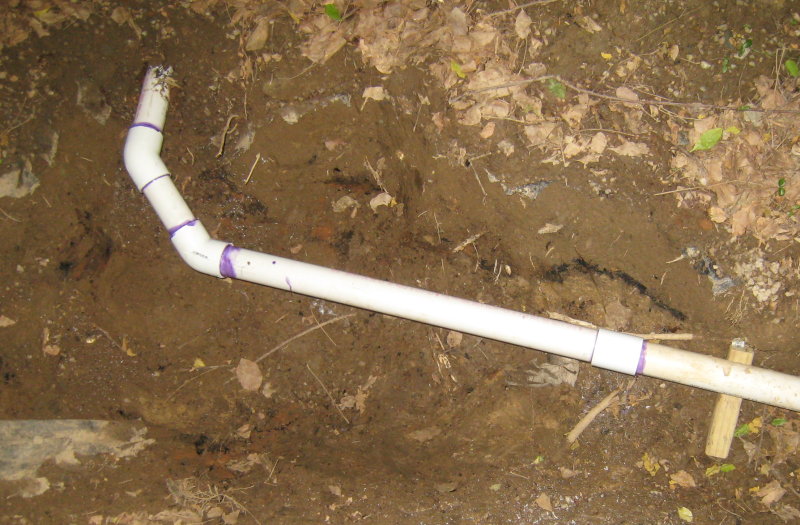 Plumb the new skimmer
pipe. Plumb the new skimmer
pipe.
|
Continued here,
and here.
Completed here. |
|
|
| |
|
| |
|
| |